We present the procedure for obtaining our 64-bit shared library svdComplexDevice2.dll with MinGW GCC toolchain in Eclipse IDE for C/C++ project.
*** Outline ***
- The C++ 64-bit shared library svdComplexDevice2.dll project with MinGW GCC toolchain in Eclipse IDE
- Various references
C++ 64-bit shared library svdComplexDEvice2.dll project with MinGW toolchain in Eclipse IDE
- Launch Eclipse IDE for Java Developers.
Select File menu, New, then Project.
New Project panel appears:
Select C/C++ then C/C++ Project. Click Next > button.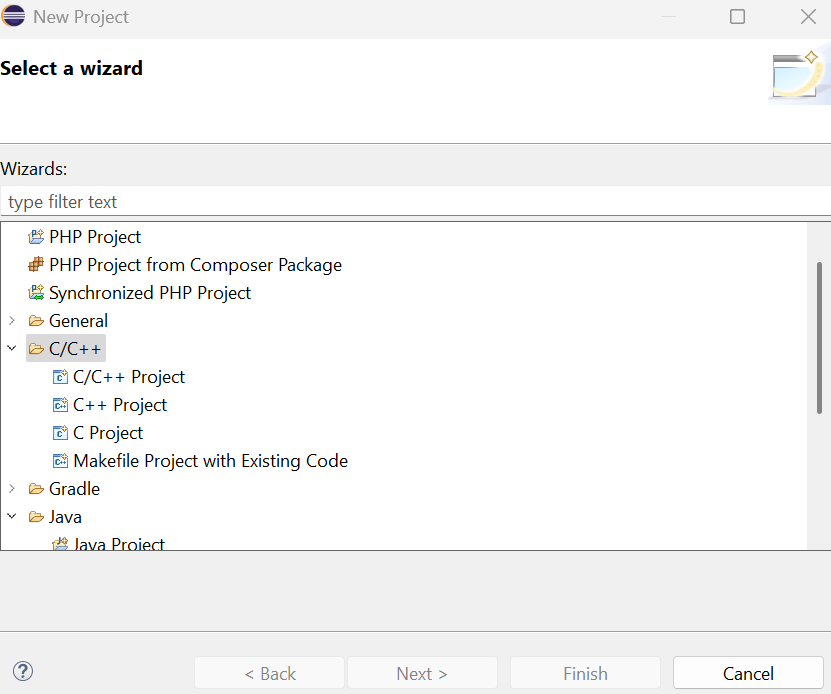
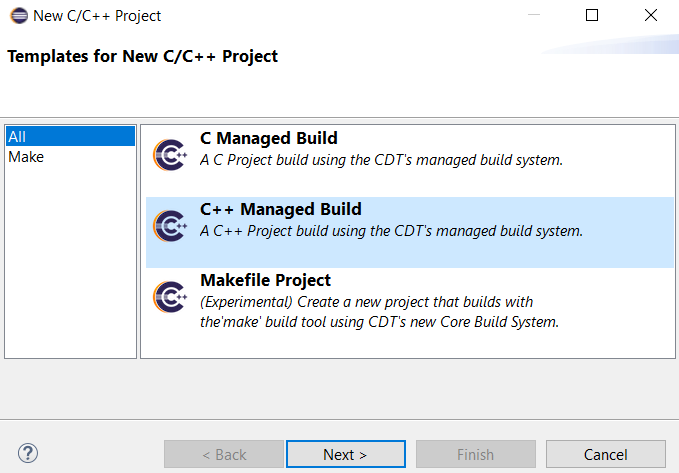
- New C/C++ Project panel appears. Select C++ Managed Build.
Click Next > button.
- C++ Project panel appears.
Provide Project name: svdComplexDevice2
Select Shared Library then Empty Project.
Select MinGW GCC in Toolchains.Click Finish button.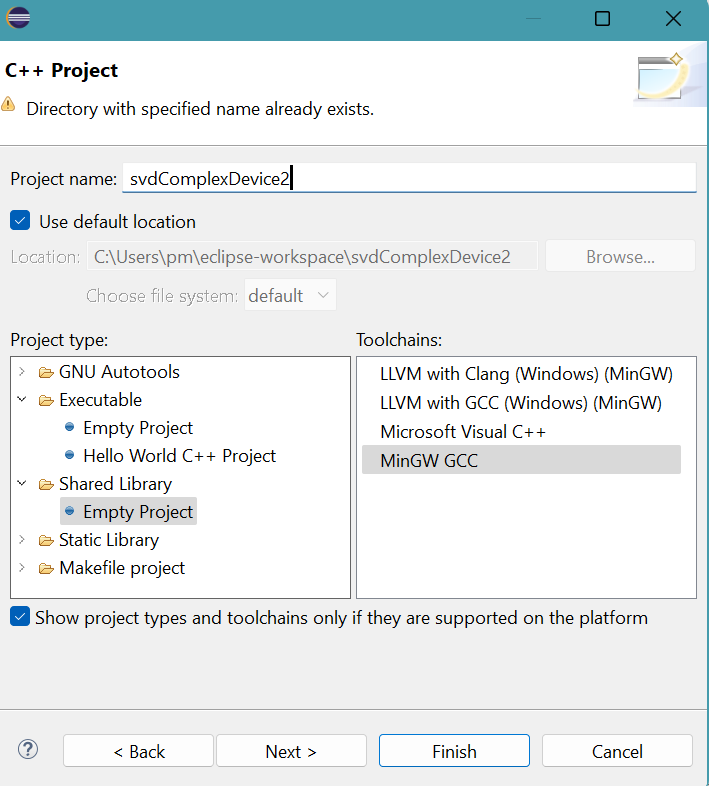
- The project folder svdComplexDevice2 appears in Package Explorer of Eclipse.
Right-click the project folder svdComplexDevice2.
Select New, then File.
Create New File panel appears.
Provide the name for Header file: svdComplexDevice2.h
Click Finish button.Click Finish button.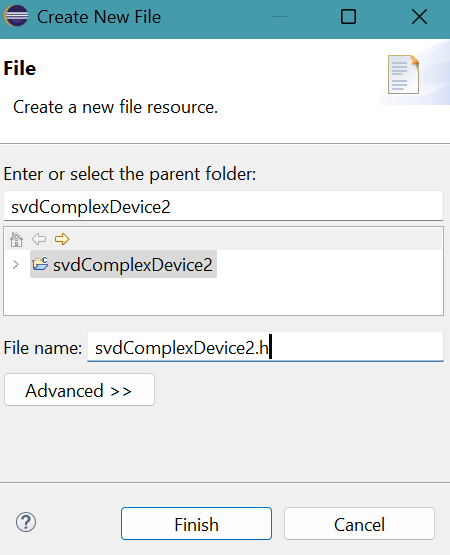
- The empty header svdComplexDevice2.h appears in Package Explorer of Eclipse.
- Copy and past svdComplexDevice2.h
file into the newly created empty header file.
Press Ctrl S to save svdComplexDevice2.h. - Similarly, create the empty file: svdComplexDevice2.cpp
Copy and past svdComplexDevice2.cpp file into the newly created empty source file.
Press Ctrl S to save svdComplexDevice2.cpp. - Similarly, create the empty file cusolver_utils.h
Copy and paste the file cusolver_utils.h provided by Sijia Zhou into the newly created empty file.Press Ctrl S to save cusolver_utils.h.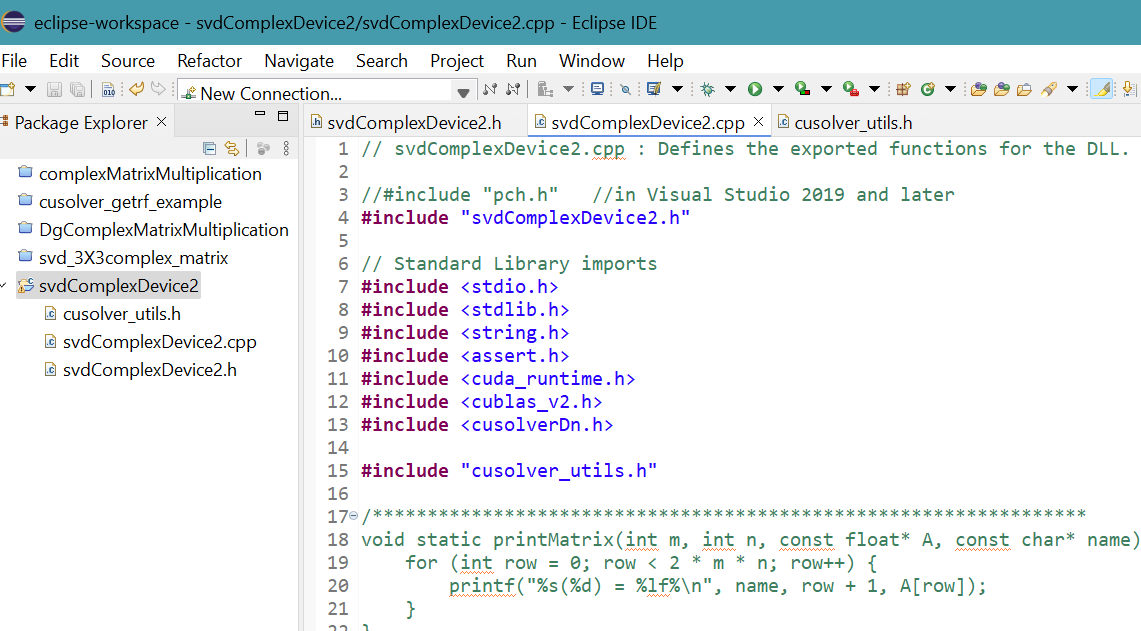
- Provide the path of include folder of CUDA to compiler:
(Include folder contains header files)
Right click svdComplexDevice2 project in Package Explorer then select Properties.
Properties for svdComplexDevice2 panel appears.
Click Settings in C/C++ Build.
Click Includes for GCC C++ Compiler in Tool Settings tab.Click + symbol in top part of Include Path (/I).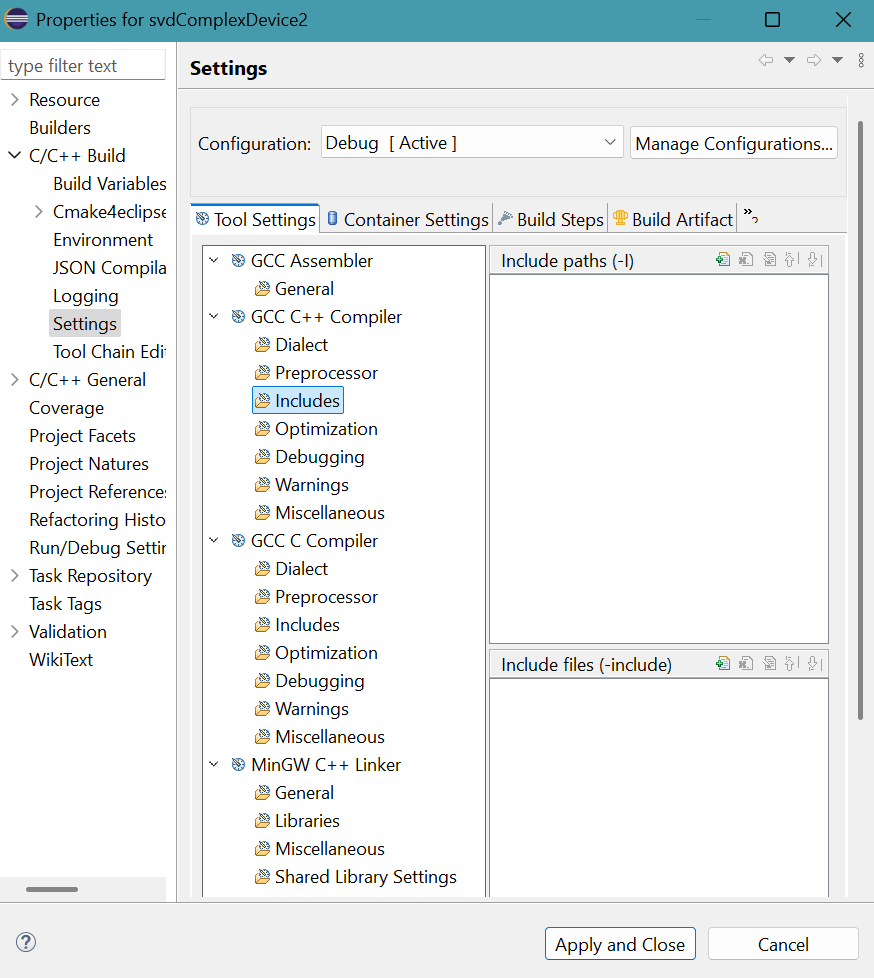
- Add directory path panel appears.
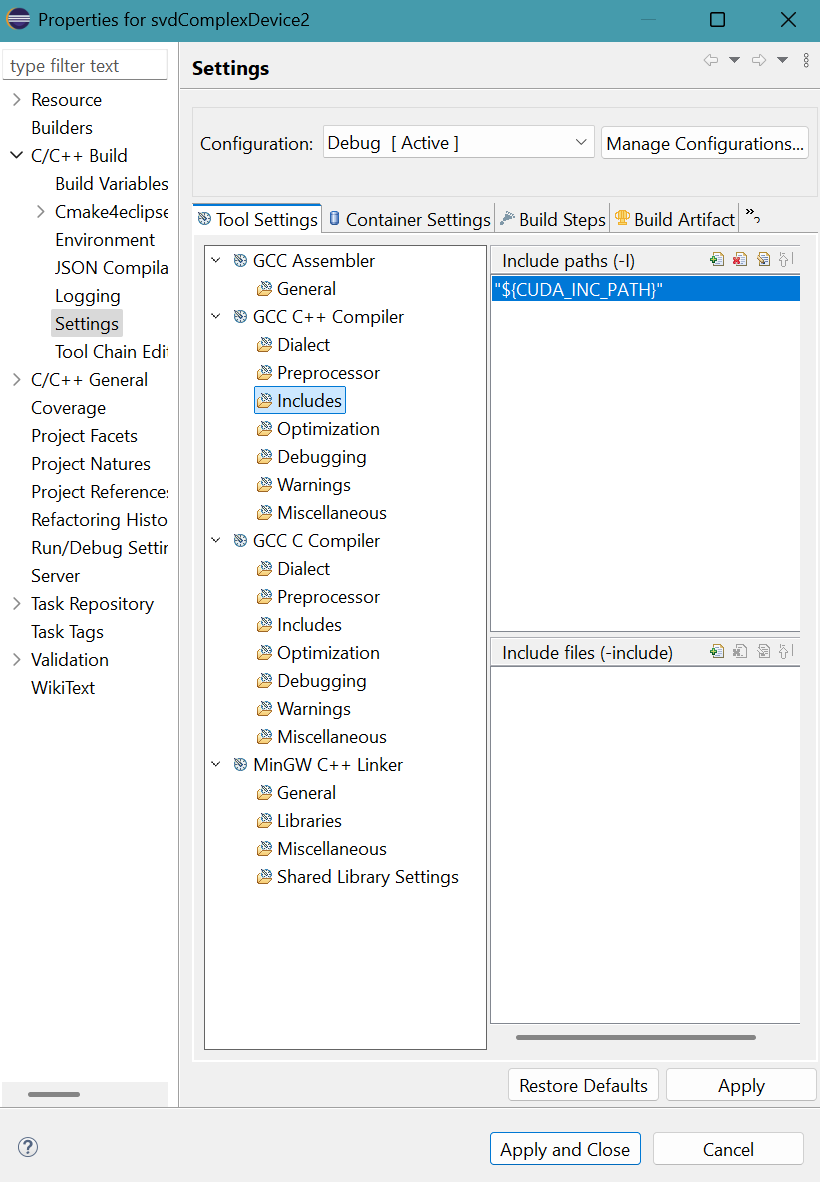
Provide "${CUDA_INC_PATH}" for Directory.
Directory must be enclosed in double quotes because this path contains space characters.Click OK button.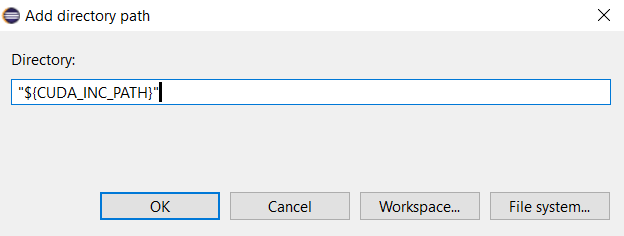
- Click Apply button.
- Click Libraries for MinGW C++ Linker in Tool Settings tab.
Provide libraries (cusolver, cublas, and cudart) and their folder location ("${CUDA_LIB_PATH_64}") to the linker.
Library file names are provided without extension .lib and paths are enclosed in double quotes.
Click Apply button. - Click Build Artifact tab.
Delete lib in Output prefix.Click Apply and Close button.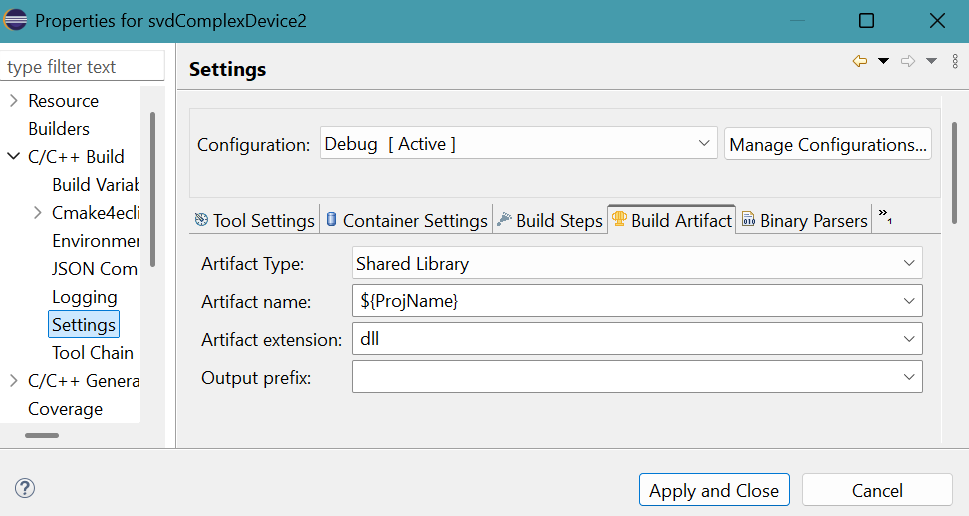
A message appears.
Click Rebuild Index button.
- Select Project menu then Build Project.
64-bit svdComplexDevice2.dll file with 628 kbit size is generated in Debug folder.

A message appears on the CDT Build Console.
Various references
- Eclipse Foundation:
It is essential that the installation path does not contain any spaces. Therefore, you cannot install MinGW-w64 in Program Files. We recommend to create a folder mingw-w64 on your system drive (e.g., C:\mingw). - Transmissin Zero: Build Windows DLLs with MinGW
- Cygwin: Building and using DLLs
- cplusplus: How to create and use DLL's
- Stratman, Forex Factory: C++ dll tutorials using Eclipse
- Capsis: A complete Java - C++ connection example with mingw/g++ and JNA under Windows 64 bits
- Elias Volanakis, Eclipse Source:
Shared libraries with Eclipse CDT and cygwin on Windows
The compiler and linker will not find the header files / library unless you set the appropriate parameters. The compiler needs an include path (-I). The linker needs the library name (-l) and library search path (-L). These settings are scattered in two places in the project properties. Their location is not obvious for a first-time user. - Erich Styger, MCU on Eclipse: Eclipse build variables
- Erich Styger, MCU on Eclipse: Debug vs. release?
- OpenCV: Using OpenCV with Eclipse (plugin CDT)
- Microsoft Learn Challenge: visual studio 2022: missing vcruntime.h